Maya Wire Muscle
Two years ago I was interviewed by an animation blog before I moved to L.A. The technique looks kind of old now but maybe someone will find it interesting.
This is part of the interview, go to arteyanimacion for the whole thing. Also you will find some cool resources and articles in that blog.
THE IDEA
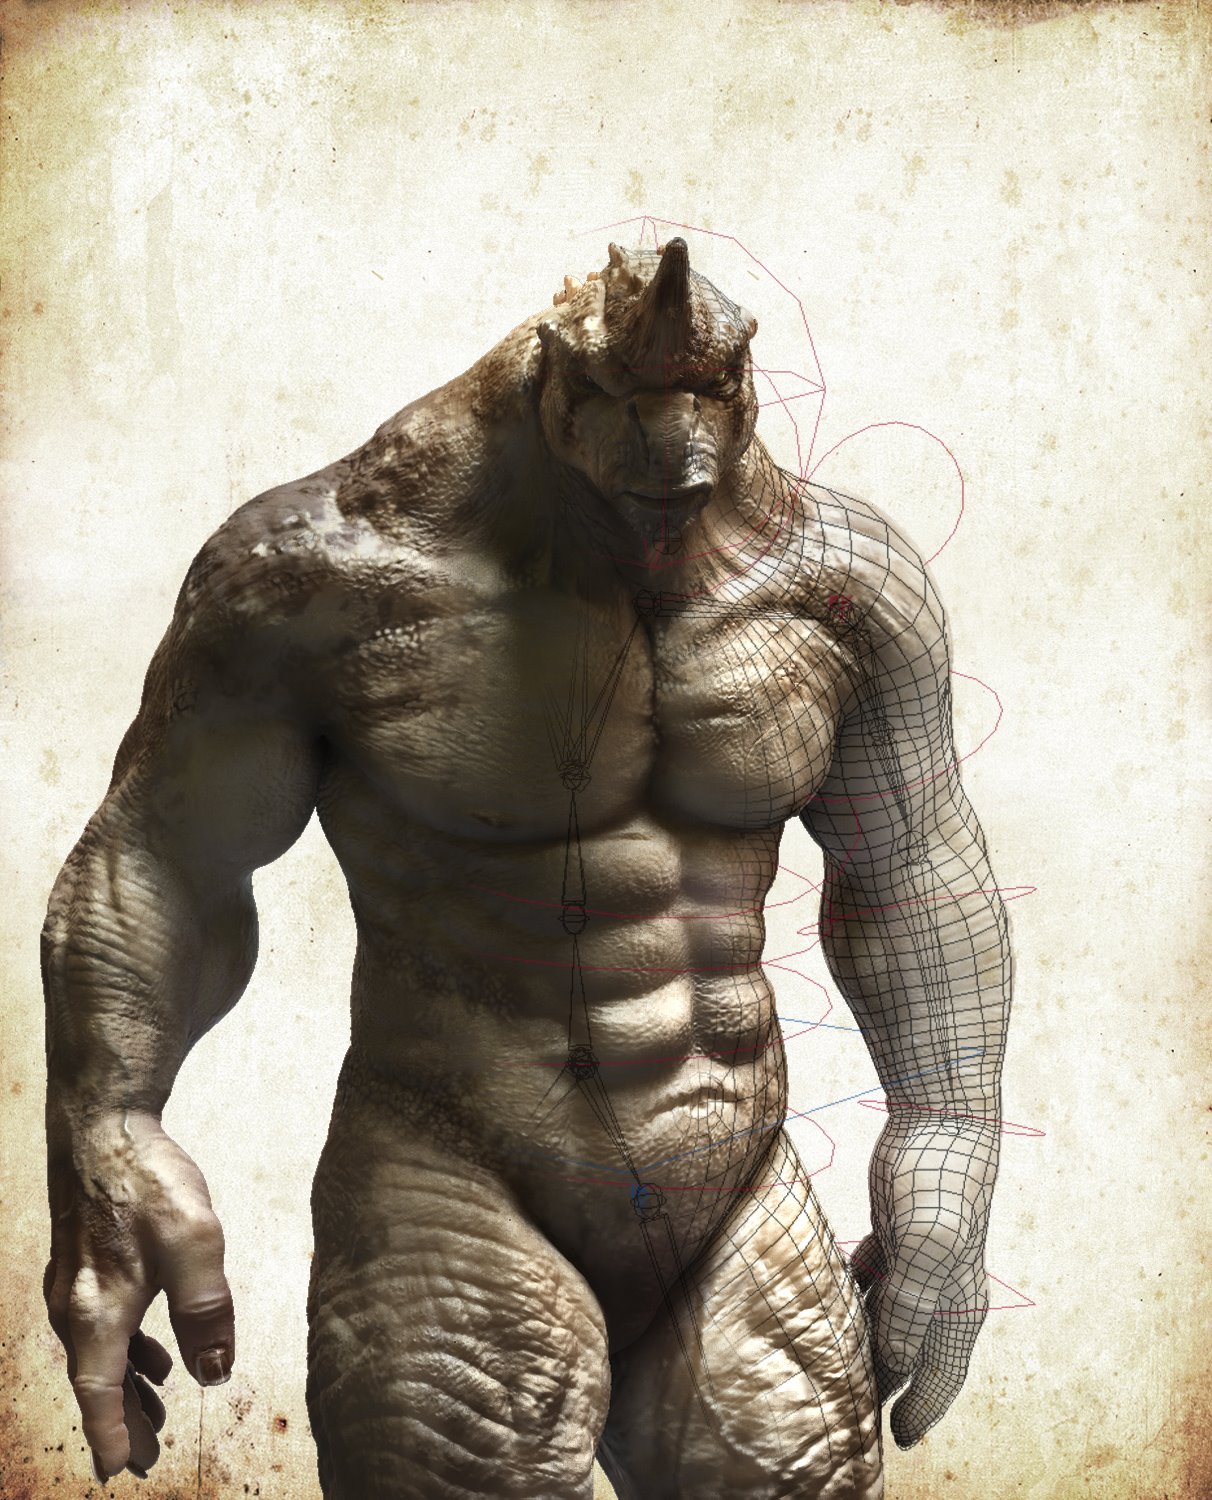
Actually it was more a technical than an artistic concern. I contacted Alex Huguet several years ago through a common friend and told him to work together in a project and I started to work with his model Rhinoman who has got very interesting proportions
TECHNIQUE
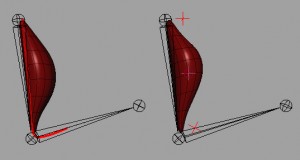
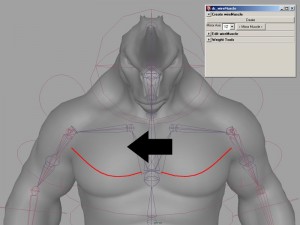
The techniques were about creating a muscle from a simple curve, and then attach it to the extremes of that curve, as in the real life. It is as fusiform muscle but with the difference that you get a non linear deformer as it is attached to a curve.
From the wire deformer of Maya I created a series of tools in order to work with it as it was a muscle, controlling its hardness, influence are on the skin, etc.
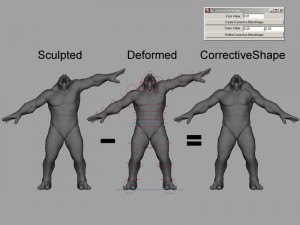
Apart from the muscle system, I developed a system of PSD (Pose Space Deformer), in order to correct not accurate deformations
REALIZATION PROCESS
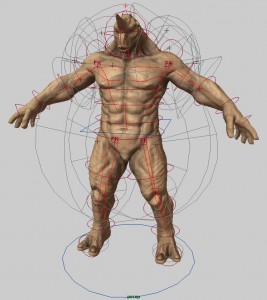
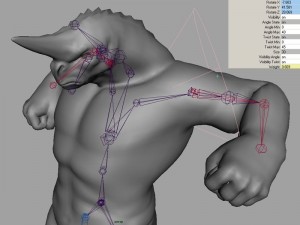
The Animation character rig has got standard biped functions. It was on the deformations where I could innovate a bit.
At the beginning I started to make every muscle from fusiform, but I realized the behavior was not what I was expecting as the anchorage system was too basic. It was very useful and fast to apply into a character, but the deformation is not as good as it should.
Creating muscles from curves made their behavior much more realistic. I only had to draw the curve where I wanted the muscle and make the skin of the skeleton to follow the character.
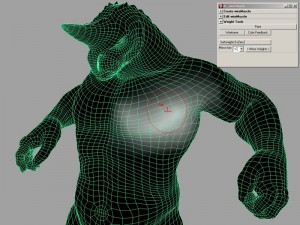
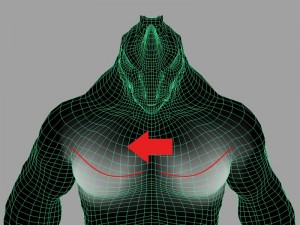
Calculating the length of the curve in a rest stage and comparing it with the actual stage I could give the value to the stretch/squash. Then I painted the deformer weights in the desired area getting the muscular effect on the skin. Although the effect of the deformer does not allow sliding you can simulate this effect later with corrective shapes.
In order to optimize the deformers speed I created a small script to which calculates the influence of the deformer according to the distance between a vertex and the curve
Once the muscle deformers were created, instead of creating a tool of mirror for the weights (it is usually a very slow process even with API), I used the skincluster mirror weights, which is very fast.
What I did was:
– Get the deformers weights, apply them to temporary mesh and bones and make a mirror weights to those temporary bones.
– Once I had those temporary weights already in the mirror, I only had to apply them to the mirror deformer and erase the temporary objects.
For the PSD I created two utilities. In one hand the blendshape releaser, which was a cone giving the influence area made of Maya nodes
On the other hand I created a plug-in with Maya Python API in order to extract the blendshape corrector calculating the difference between each vertex local coordinates, the modeled mesh and the deformed mesh.
Once the blendshape corrector is extracted I only had to connect it to the blendshape releaser.

